The Ultimate Beginner's Guide to React Router V6
A beginner friendly introduction to the crazy library

Entrepreneur, Founder, Mentor. Also runs a Registered NGO. Visit my website: sandeepgokhale.com
Last week I was scrolling through my twitter feed & I stumbled on an interesting tweet which seems to discuss React developer pain points. Among other things I noticed some folks talking about React Router and how crazy it is to wrap our heads around it. I've been there personally and get the frustration :)
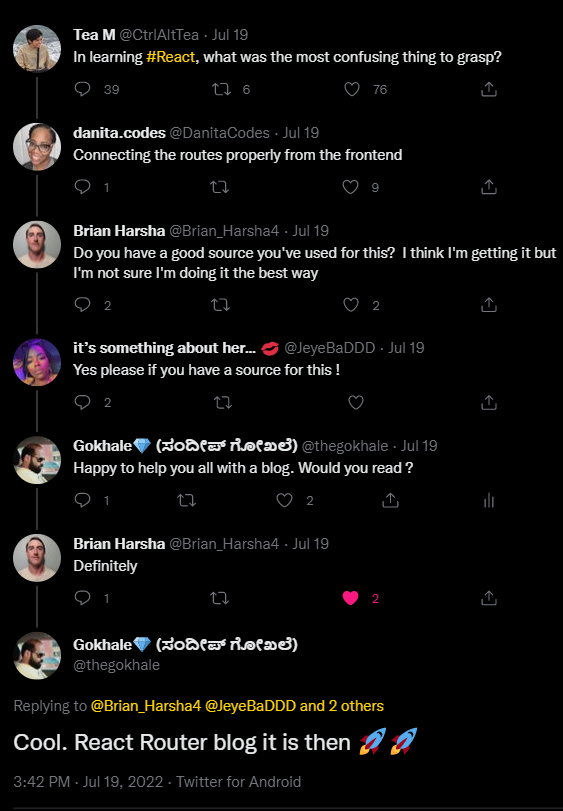
This post is dedicated to everyone who is currently learning React & trying to get into the web development World.
Let's Go....
Background
React at its core is very good at rendering information & handling user events. React does this by making use of data (props and/or states) & renders information to the user. Additional logic can also be introduced in React components to handle user events and side effects.
If you have been doing React for sometime now, you will eventually be introduced to React's friends. Some of them worth mentioning here are
- Redux or similar state management libraries.
- Axios or some other data fetching libraries.
- React Router or similar routing libraries.
The focus of today's blog will be about the React Router. It is one of the most widely used and popular go to routing library. Shout out to all the maintainers who keep adding to the awesomeness with every major release.
The Need.
Let's say you are building a application which displays information useful to your end user in a simple view. The user can read up the stuff by scrolling down the one page and that is all. If yours is one such application you probably don't need React Router or any router for that matter. Just basic HTML, CSS and JS will get you there. In fact, You don't even need React or its peers.
However, the world we live in demands a lot more. Thanks to the power of the web. You as a developer could be tasked to design your application into different views/pages. You may need your end user to login to your application, do some fun stuff, have multiple pages/sections, design an application menu on click of which you go to some other feature/view. Some example of such applications are Amazon's Shopping site, your favorite food ordering site, social media sites etc.
Such application demand the need for dividing the application into multiple views/pages so that the user can easily "navigate" around the application. This is where we would need Routing.
It doesn't matter whether your application is single page application(SPA) or not, client side or server side rendered, mobile or web, you will need some sort of routing. React being a simple rendering library, it would need its "friends" to help with routing. To keep this blog simple, let's just focus on React Router for web applications with client side routing.
The main goal of any routing library is to keep the UI in sync when the URL changes.
Options
Here are some libraries using which we can do Routing for React applications.
- React Location
- Wouter
- React Router (Of course)
- and there are more.
Before we dive into the basics of React Router, we need to understand some basic concepts. Let's look at them first.
Concepts
URL: Uniform Resource Locator, The string on your address bar.
Browser Router- A type of router based on HTML 5 History API. Most widely used.
Link - Or simply a
Hyperlink. Link is where the routing action begins.Route - Defines a "path" and a "component". Points to a component which should be loaded to for a corresponding "path". keep the UI in sync with the URL .
Outlet - A place holder for nested routes. Usually present in a parent route. This is where child routes gets rendered. More on this soon.
If you do not understand some of these terms, do not worry, we will revisit them soon and things should become relatable.
React Router Setup/Installation
The below command will install React Router Library on your project. You can chose either npm or yarn as your package manager.
npm install react-router-dom // yarn add react-router-dom
That is it ! Now you can start using React Router and add routing feature to your application. Yey !!!
Note: Here I am assuming you are familiar about how to install packages with Create-React-App or StackBlitz. I will be using codesandbox to code ( and I would recommend you to use the same if possible). All the next steps we perform will remain same whatever way you decide to start with.
Let's Code.
Let's warm up ourselves by writing some code.
Step 1: Preparation
Create three components, Home, Profile & About in the same folder containing app.js.
//home.js
const Home = () => {
  return (
    <div>
      <b>Welcome </b>
      <p>You are now in Home Component.</p>
    </div>
  );
};

export default Home;
//profile.js
const Profile = () => {
  return (
    <div>
      <b>Welcome </b>
      <p>You are now in Profile Component.</p>
    </div>
  );
};

export default Profile;
//about.js
const About = () => {
  return (
    <div>
      <b>Welcome </b>
      <p>You are now in About Us Component.</p>
    </div>
  );
};

export default About;
And your app.js could look like this..
import "./styles.css";

export default function App() {
  return (
    <div className="App">
      <h1>React Router Example</h1>
    </div>
  );
}
Now, lets dive into the super cool stuff.
Step 2: Introducing React Router DOM to our application.
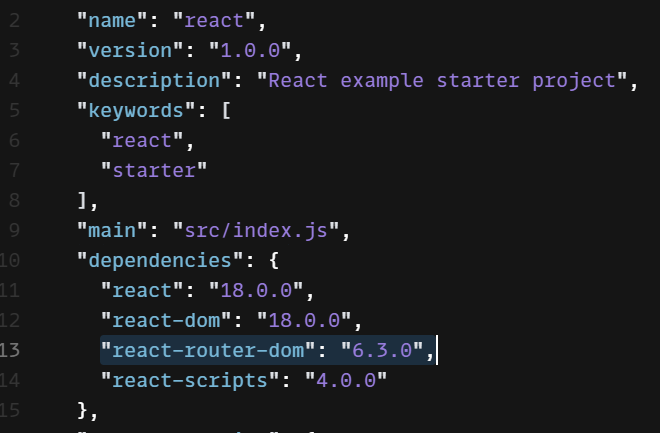
Ensure you have installed react-router-dom before proceeding next. You can check your package.json and it should have a similar entry for
react-router-dom. Version may differ with time. The code in this blog will work with version 6.3.0.
- Navigate to
index.jsand importBrowserRouterfromreact-router-dom.BrowserRouteris a React Component. - Add
<BrowserRouteras the parent component of<App>.
import { createRoot } from "react-dom/client";
import { BrowserRouter } from "react-router-dom"; // this

import App from "./App";

const rootElement = document.getElementById("root");
const root = createRoot(rootElement);

root.render(
  <BrowserRouter> {/* And this */}
    <App />
  </BrowserRouter>
);
If you have an understanding of React's Context, you will find the above code quite comfortable. If not, all we are doing here is: by making BrowserRouter component as the parent of App component, the App component & its children gets access to routing.
Remember: With React, Data flows from top to bottom and events move from bottom to top.
Step 3: Bring in the Components
Remember the components we created in step 1, Let's include them into our index.js
import { createRoot } from "react-dom/client";
import { BrowserRouter } from "react-router-dom";

import Home from "./home";   // This
import Profile from "./profile"; // This
import About from "./about"; // and This

import App from "./App";

const rootElement = document.getElementById("root");
const root = createRoot(rootElement);

root.render(
  <BrowserRouter>
    <App />
  </BrowserRouter>
);
Step 4: Define the Routes
This will be done in two steps.
- First import the
Routes & Routefromreact-router-domtoindex.js. Just likeBrowserRouter,Routes&Routeare also React components which accepts certainprops& renders UI accordingly & also respond to events. Your import statement ofindex.jswill now look like this.
import { BrowserRouter, Routes, Route } from "react-router-dom";
- Define the routes.
import { createRoot } from "react-dom/client";
import { BrowserRouter, Routes, Route } from "react-router-dom";

import Home from "./home"; // This
import Profile from "./profile"; // This
import About from "./about"; // This

import App from "./App";

const rootElement = document.getElementById("root");
const root = createRoot(rootElement);

root.render(
  <BrowserRouter>
    {/* From Here */}
    <Routes>
      <Route path="about" element={<About />}>
      <Route path="/" element={<App />}>
        <Route path="home" element={<Home />} />
        <Route path="profile" element={<Profile />} />
      </Route>
    </Routes>
    {/* Till Here */}
  </BrowserRouter>
);
Do not allow this code to trick your brain to think its "complicated". It is not. Here is what it is doing:
Routes- Is a React Component. Simply think of them like aswitchstatement. This Component monitors changes to the address bar of the browser.Route- Also a React Component. Think of them ascasesof aswitchstatement. TheRoutecomponent takespathandelementas props. Theelementprop's value can be any valid React Component &pathprops value is the location(a string).This is how things work: Whenever the path changes in the browser, the
Routescomponent will look at all its children (<Route>) and tries to find a match by comparing the URL location andpathprop value. With this code, React Router Understands which component to load when the URL'spathchanges.With the code written above, we are instructing React Router to load
Appcomponent when path is/. Similarly when the path changes to/about,Aboutcomponent will be loaded.Congratulations! This is all we need to bring in client side routing to our application.
To make things a bit interesting, I have also introduced something called nested routes here. Were you able to identify? Do you see how the
<Route>component with path "home" and "profile" is nested under<Route>component with path ="/"?
<Route path="/" element={<App />}>
        <Route path="home" element={<Home />} />
        <Route path="profile" element={<Profile />} />
</Route>
Lemme explain what is going on here by using this below line as example
<Route path="home" element={<Home />} />
Here we are instructing React Router to load Home component when the path is /home. Why /home ? See the nesting. First the path is '/' and under that the path is 'home' and so when they are clubbed together, they form /home. Hence when the URL location is /home, Routes component will match the above path & so the components will be rendered.
Note that I mentioned components. It means both App and Home component gets rendered. For this to work, we just need to add one last piece to this puzzle. An <Outlet />.
7.
Open your app.js and do the below change.
import "./styles.css";
import { Outlet } from "react-router-dom"; // This

export default function App() {
  return (
    <div className="App">
      <h1>React Router Example</h1>
      <Outlet /> {/* and this */}
    </div>
  );
}
Step 5: Link them up.
Let's create a Menu component in the same folder as app.js and render it within app.js.
// menu.js
import { Link } from "react-router-dom";

const Menu = () => {
  return (
    <div>
      <Link style={{ margin: 10 }} to="/home">
        Home
      </Link>
      <Link style={{ margin: 10 }} to="/profile">
        Profile
      </Link>
      <Link style={{ margin: 10 }} to="about">
        About
      </Link>
    </div>
  );
};

export default Menu;
Let's understand the Link component from React Router by looking at this piece of code.
      <Link style={{ margin: 10 }} to="/home">
        Home
      </Link>
This Link component simply creates a hyperlink as below and that is all it does. When you click on the link, the HTML anchor tag changes/updates the location or path.
<a href="/home" style="margin: 10px;">Home</a>
The same thing will also happen for the other two Links defined in the Menu Component.
2.
Let's render Menu component inside app.js. That should be straight forward.
import "./styles.css";
import { Outlet } from "react-router-dom";
import Menu from "./menu"; // This

export default function App() {
  return (
    <div className="App">
      <h1>React Router Example</h1>
      <Menu />  {/* and this */}
      <hr /> {/* and this to create a separation visually */}
      <Outlet />
    </div>
  );
}
Step 5: Let's take our code for a spin.
This is how your page should look like now.
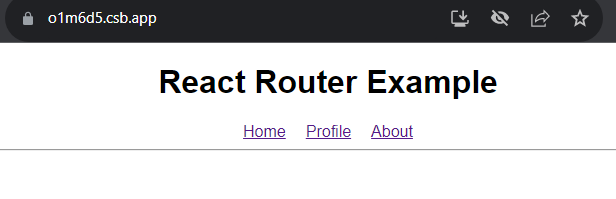
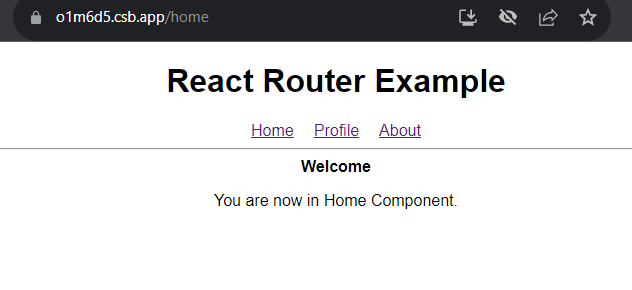
Click on Home to get the below output. (Observe how the address bar now has /home)
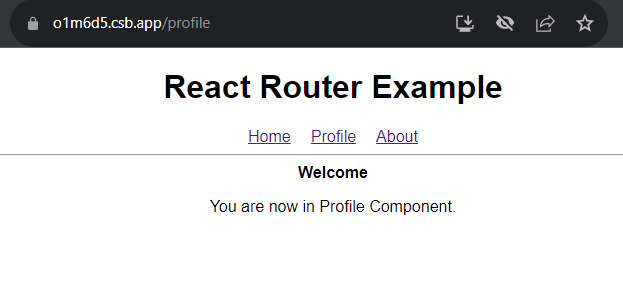
Click on Profile to get the below output. Remember to observe the address bar.
Now, Click on About to for a surprise..
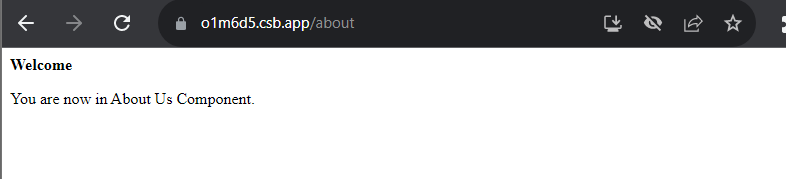
Well, that looks different now isn't it. We dont see the menu any more since About is not a nested route. So it replaces the entire App component with its content. We can improve this situation by introducing a <Link> from react-router-dom inside About component and give this <Link> component a value of \ to the path prop. That is it. With this, you can now navigate back to the App Component.
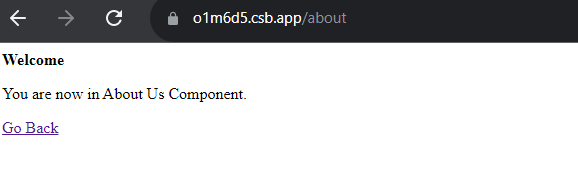
The code change for this is left to the reader as an exercise. All the hints you need is provided just above. If you did this change, your output should looks something similar.
Step 6: Summary.
Here is a quick summary of how everything works.
To begin with, index.js has a default path of '/'. This will match the route defined as
<Route path="/" element={<App />}>So renders the
<App />component which contains theMenucomponent.The
<Menu />component contains theLinks. RememberLinksare basicallyHTML anchortags. So on click of these links, the browser address will change. Say you clicked onProfilelink.This will change the browser's address from '/' to '/profile'.
<Routes>component keeps an eye on changes to the address bar. When there is a change, it tries to find theRouteto match the current location. Remember the switch cases.<Routes>components finds a matching route defined as<Route path="profile" element={<Profile />} />and so renders the<Profile>component.Oh, that is it. As simple as that :)
Here is the completed final code for your reference.
There is so much more to React Router.
- Handling Invalid paths
- Reading query string parameters
- Rendering layouts
- Dynamic routing
- Server side rendering etc.
I will write another blog around these topics. Watch out for this space.
Connect with me & say hello here
I mentor students/working professionals on Javascript & React for Free over the weekends. If you are interested, you can register for free here. Next batch starts Aug 06th, 2022, Saturday 10 AM IST.
Until next time.